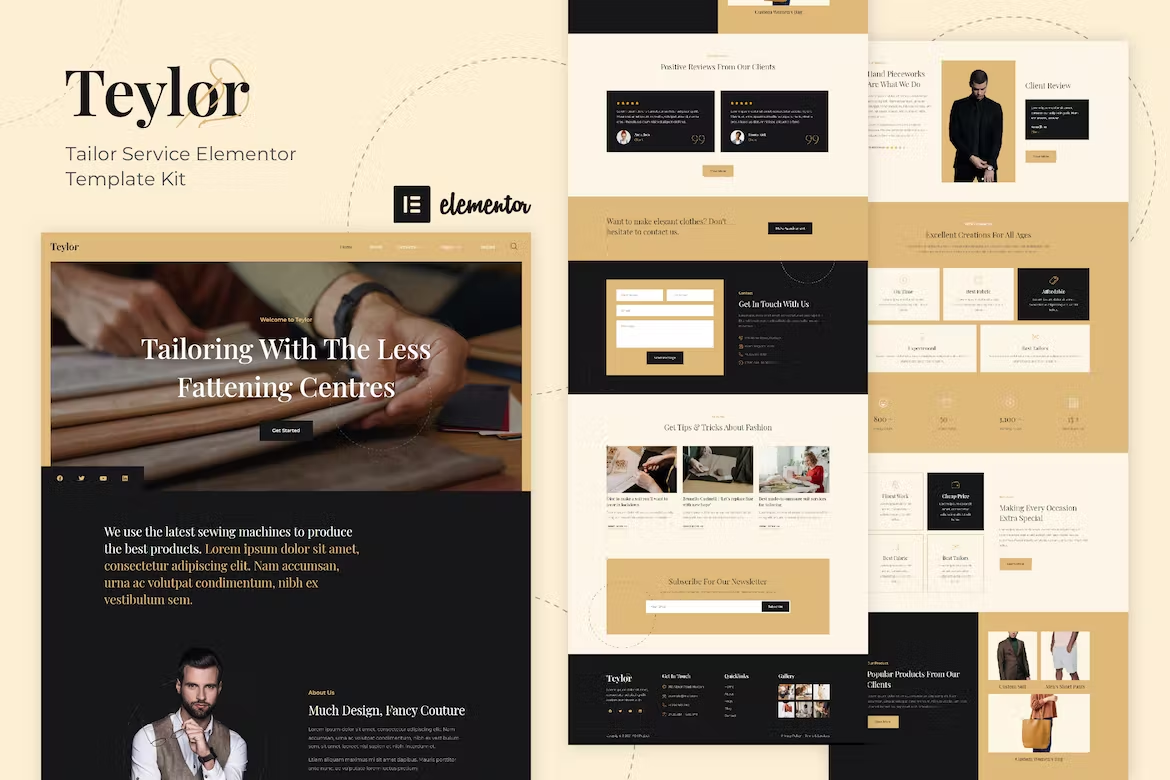
Teylor – Tailor Service Elementor Template Kit made specifically for business websites working in the field of fashion, custom and bespoke tailoring, alterations, clothing repair and restoration services. Teylor has a simple, modern and clean design with a 100% responsive layout, and very easy to customize and can be used by anyone without having to understand coding.\
Features
- Using Free Elementor (Elementor Pro is not required)
- Unique & Clean Design
- 11+ Ready to Use Pages
- 15+ Ready to Use Templates
- Fully Responsive Layout
- Fully Customizable
- Cross Browser Compatibility: Chrome, Firefox, Safari, Opera
Templates Include
- Global Theme Style
- Home
- About
- Services
- Service Detail
- Pricing
- Team
- FAQs Page
- Testimonials
- Blog
- Single Post
- 404 Page
- Contact
- Form Contact
- Form Newsletter
- Header
- Footer
Required Plugin
- Elementor
- ElementsKit Lite
- Elementor – Header, Footer & Blocks
- MetForm
- DethemeKit for Elementor
How to Use Template Kits:
- Install and Activate the “Envato Elements” plugin from Plugins > Add New in WordPress
- Do not unzip
- Go to Elements > Installed Kits and click the Upload Template Kit button.
- Before importing a template, ensure the Install Requirements button is clicked to activate required plugins
- For best results, do not import more than one template at a time.
- Go to Pages and create a new page and click Edit with Elementor
- Click the gear icon at lower-left of the builder to view page settings and choose Elementor Full Width and hide page title
- Click the gray folder icon to access My Templates tab and then Import the page you’d like to customize
How to Import Metforms
- Import the metform block templates
- Import the page template where the form appears and right-click to enable the Navigator
- Locate and select the Metform widget and click Edit Form. Choose New, then Edit Form. The builder will appear
- Click ‘Add Template’ grey folder icon.
- Click ‘My Templates’ tab.
- Choose your imported metform template, then click ‘Insert’ (click No for page settings).
- Once the template is loaded, make any desired customizations and click ‘Update & Close’ The form will appear in the template
- Click Update
Setup Global Header and Footer in ElementsKit
- Import the header and footer template
- Go to ElementsKit > Header Footer and click Add New (if prompted with a wizard, you may click Next through it without taking any action)
- Title the header, leave Entire Site selected and toggle Activation to On
- Click the gray Edit Content button to load the builder
- Click the gray folder icon and select the header template to import, select your menu in the nav element and click Update.
- Repeat for Footer

